Picking a camera and lens for a machine vision system feels complicated because it’s really three decisions bundled into one: what lens type, what mount, and what sensor. Get any one wrong and the other two won’t save you. This guide walks through all three, in the order you’d actually decide them.
Step 1: Pick the Lens Type for the Job
Most machine vision lenses are endocentric — the same basic design as a regular camera lens, or your own eye. Objects further away look smaller. That’s fine for counting parts or reading text. But it’s a problem if you’re measuring a dimension, because the measurement can shift slightly with distance.
Telecentric lenses fix that. They show an object at the same size no matter how far it sits from the lens, within a working range. That makes them the standard choice for dimensional measurement.
Hypercentric lenses do the opposite of a normal lens — they curve inward, letting one camera see multiple sides of an object at once. They’re less common, but useful for checking the sides of a vial or a battery in a single shot.
Step 2: Match the Lens Mount to Your Camera
| Mount | Fit | Notes |
|---|---|---|
| C-mount | 1-inch thread, 17.526mm back-focal distance | The most common mount in machine vision. |
| CS-mount | Same thread, 12.526mm back-focal distance | 5mm shorter than C-mount — needs a spacer to use a C-mount lens. |
| F-mount | Larger, from Nikon SLR cameras | Used for bigger sensors and line-scan cameras. |
Get the mount wrong and the lens simply won’t focus. It’s a mechanical fit, not a preference.
Step 3: Choose How the Camera Captures the Image
Two decisions matter here: area scan versus line scan, and progressive versus interlaced.
Area scan cameras capture a full frame at once, like a regular photo. They’re the default choice for almost every job — cheaper, simpler, and good enough for most parts.
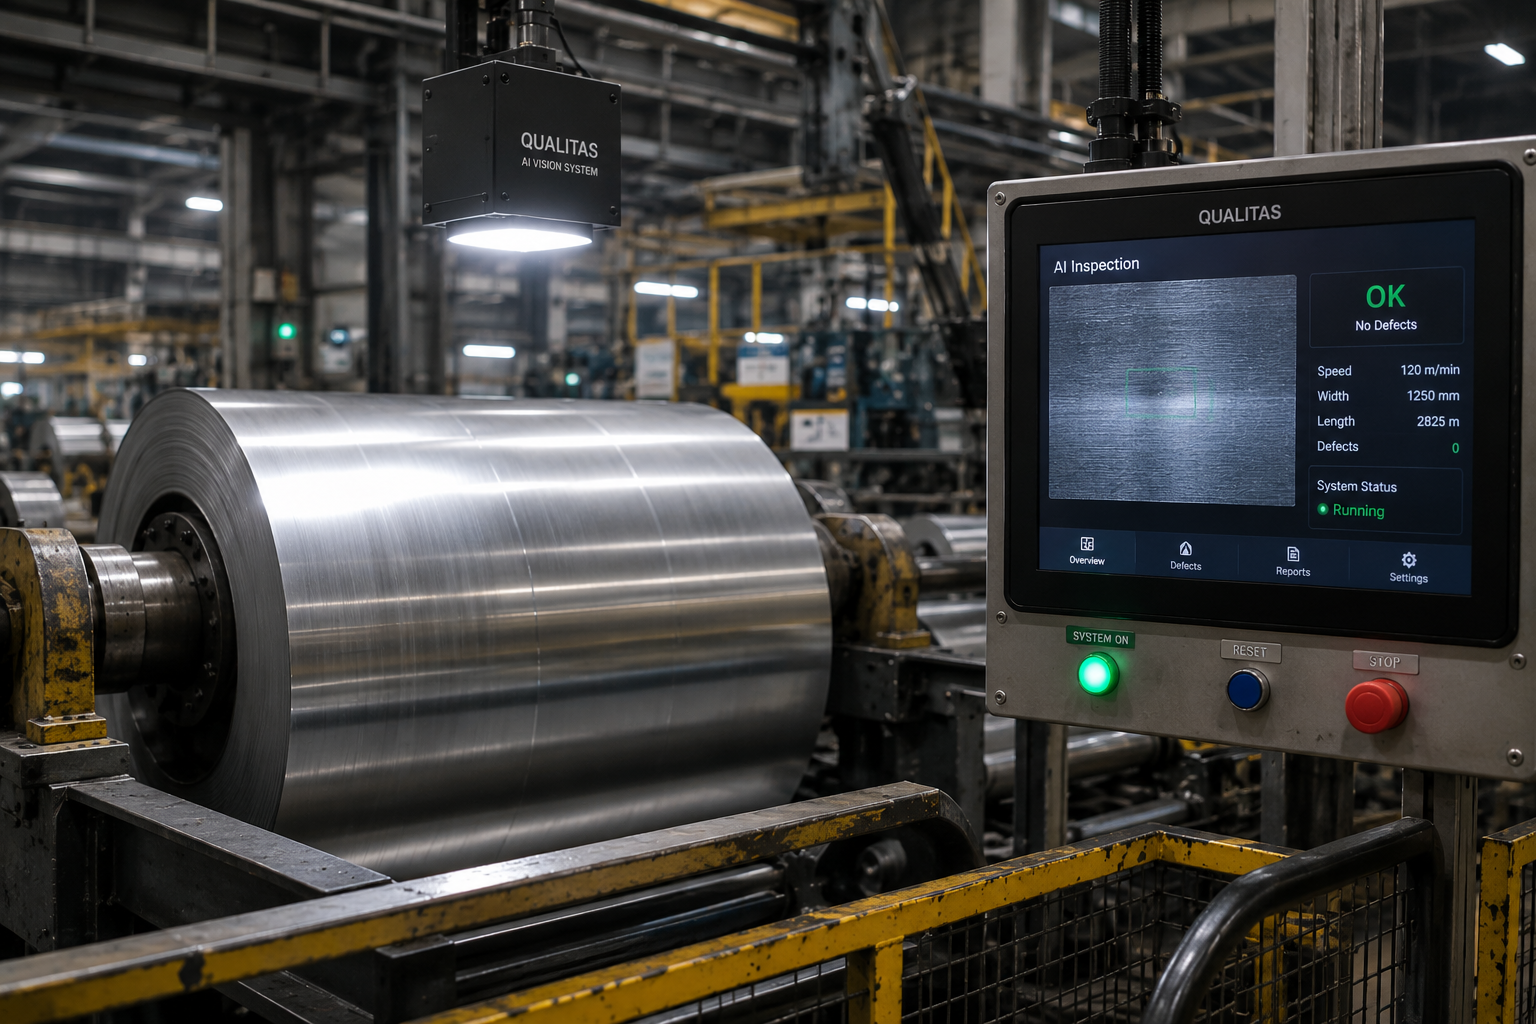
Line scan cameras work differently. They capture just one line of pixels at a time, then build the full image as the part moves past. That’s what you want for continuous material — a printed web, a sheet of metal, a conveyor belt — where an area scan camera would need an awkwardly wide lens to cover it all in one shot.
Progressive scan captures a full frame in one pass and is the modern standard. Interlaced scan, which captures a frame in two passes, belongs to an older generation of analog cameras that’s essentially gone from new machine vision systems today.
Sensor Basics: Quantum Efficiency and Resolution
Two sensor numbers matter more than the rest: quantum efficiency and resolution.
Quantum efficiency is how much of the light hitting the sensor actually turns into a usable signal. A sensor with 50% quantum efficiency turns every two photons of light into one electron of signal. Higher is better, especially in low light.
Resolution needs to match your smallest feature, not the other way around. As a rule of thumb, aim for at least five pixels across the smallest feature you need to catch. To reliably see a 0.2mm defect with five pixels across it, you need roughly 25 pixels per millimeter of resolution. Work backward from what you need to see, not forward from whatever camera happens to be on the shelf.
Frequently Asked Questions
What’s the difference between a telecentric and a regular (endocentric) lens?
A regular lens makes far-away objects look smaller, the same way your eye does. A telecentric lens keeps an object the same size in the image no matter its exact distance from the lens, within its working range — which is why it’s the standard choice for measuring dimensions accurately.
Can I use a C-mount lens on a CS-mount camera?
Not directly. CS-mount has a back-focal distance 5mm shorter than C-mount, so a C-mount lens needs a 5mm spacer ring to focus correctly on a CS-mount camera.
When do I need a line-scan camera instead of area scan?
When you’re inspecting continuous material — a printed web, sheet metal, packaging film — that moves past the camera. Line scan builds the image one row at a time as the material moves, rather than trying to fit it into one static frame.
How do I know what camera resolution I need?
Start from the smallest feature you need to detect, not the camera. As a rule of thumb, aim for at least 5 pixels across that feature. A 0.2mm defect, for example, needs roughly 25 pixels per millimeter of resolution to be reliably detected.
Not sure which lens and camera combination fits your part? Talk to a Qualitas vision engineer — we review your working distance, part size, and tolerance before recommending hardware.
Key takeaways
- Pick the lens type first: endocentric for general use, telecentric for accurate measurement, hypercentric for seeing multiple sides at once.
- Lens mount is a mechanical fit, not a preference — C-mount, CS-mount, and F-mount aren’t interchangeable without the right spacer.
- Area scan covers most jobs; line scan is for continuous moving material like a printed web or sheet metal.
- Resolution should be chosen backward from your smallest feature — aim for at least 5 pixels across it.