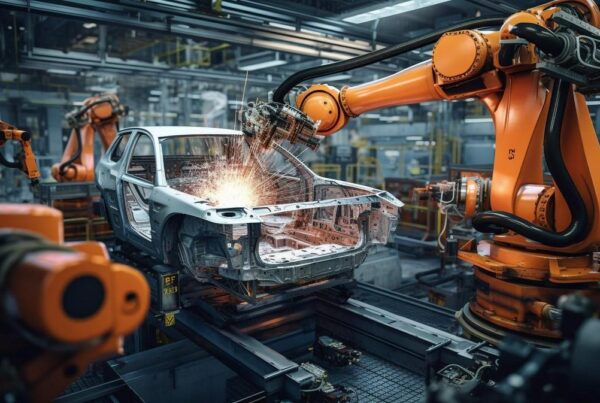
Using LMI 3D’s Gocator sensors, 3D Machine Vision has become very simple. Here’s an application of how we can measure the gap and flush of an automotive door assembly to verify tolerances.
Application
The gap size and flushness between the various panels on a vehicle body are important factors for build quality and appearance. Misalignment between doors, hoods, deck lids, lamp covers etc. are not only unaesthetic, but can also cause excessive wind noise and water leaks.
The desired gap size depends on the function of the joint and the position on the car and can vary between 0 and 10 mm. In most cases, perfect flushness is desired. A joint is typically considered faulty if the gap or flush is off the desired target by more than 0.5 to 1 mm.
This application is well suited for a laser-line-based 3D sensor. The part of the laser line that falls on the flat part of the panel forms a natural reference for the measurements. With a compact and pre-calibrated smart sensor, using only a single light source, it’s possible to get both the gap and the flush in a single snapshot at very high accuracy.
The result of the gap and flush measurement is used in the vehicle assembly process:
- to correct and error-proof any build problem
- to reduce unexpected cost in repairing misassembled panels
- to reduce waste from discarding damaged panels due to fit problems
- to reject the vehicle if the panels are badly misaligned
Implementation
The Gocator is mounted on a robot that is used to position the sensor so that two panels are in the view of the sensor. Once the sensor is positioned, the robot will initiate a start signal to the sensor to begin measuring. The sensor will then perform the gap and the flush measurement and on completion signal the robot with the inspection results. The robot is programmed to move to a number of pre-defined inspection positions around the vehicle body. At each position, the panels are measured against a specific target and tolerance. With the Gocator’s built-in measurement tools, configured through a standard web browser, the entire application can be solved quickly and efficiently without any custom software programming. The sensor is capable of storing thousands of configurations, allowing the robot to call for specific measurement parameters at each inspection position.
The Gocator supports several industrial PLC protocols to control the sensor and to collect measurement results. Additionally, an open-source Software Development Kit (SDK) is available for engineers who want to do their own programming.
Benefits
In today’s automotive market it is critical to producing a quality vehicle. The consumer will not tolerate appearance flaws such as misaligned doors or hoods, wind noise or water leaks. Manual inspection of 50 or more inspection points around the vehicle body is not feasible, and traditional 2D vision technology is poorly suited for the 3D nature of the measurement. Stereo based 3D with unstructured light is costly and unreliable.
The Gocator offers a compact and reliable solution to:
- automate in-line inspection
- enable 100% inspection on every vehicle without affecting production time
- verify and improve product quality
- use the data with comprehensive Statistical Process Control packages to track the quality in the assembly process
- decrease unexpected costs for rework and warranty repair, which can be thousands of dollars per vehicle


